
Last updated November 17, 2026
 AC repair
 Furnace & heating
 Heat pumps
 Ductless mini splits
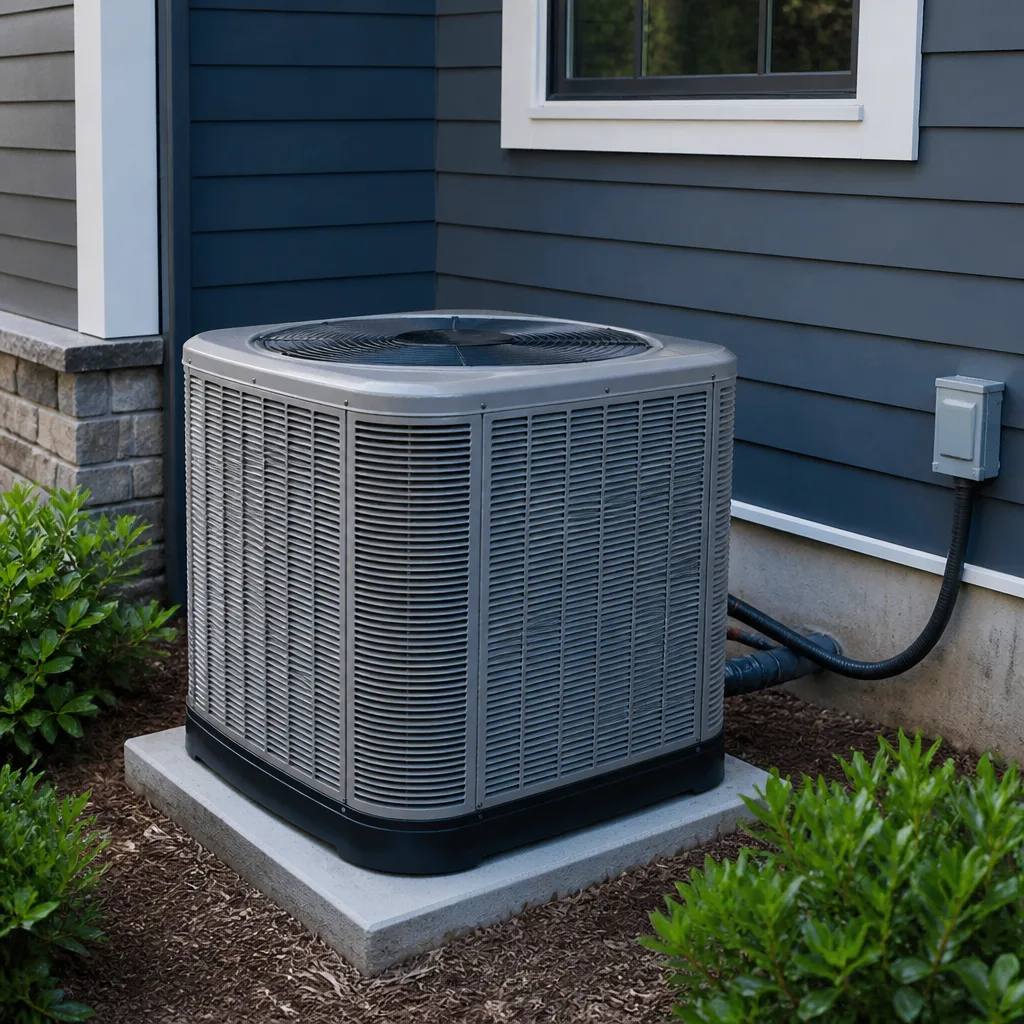 Carrier
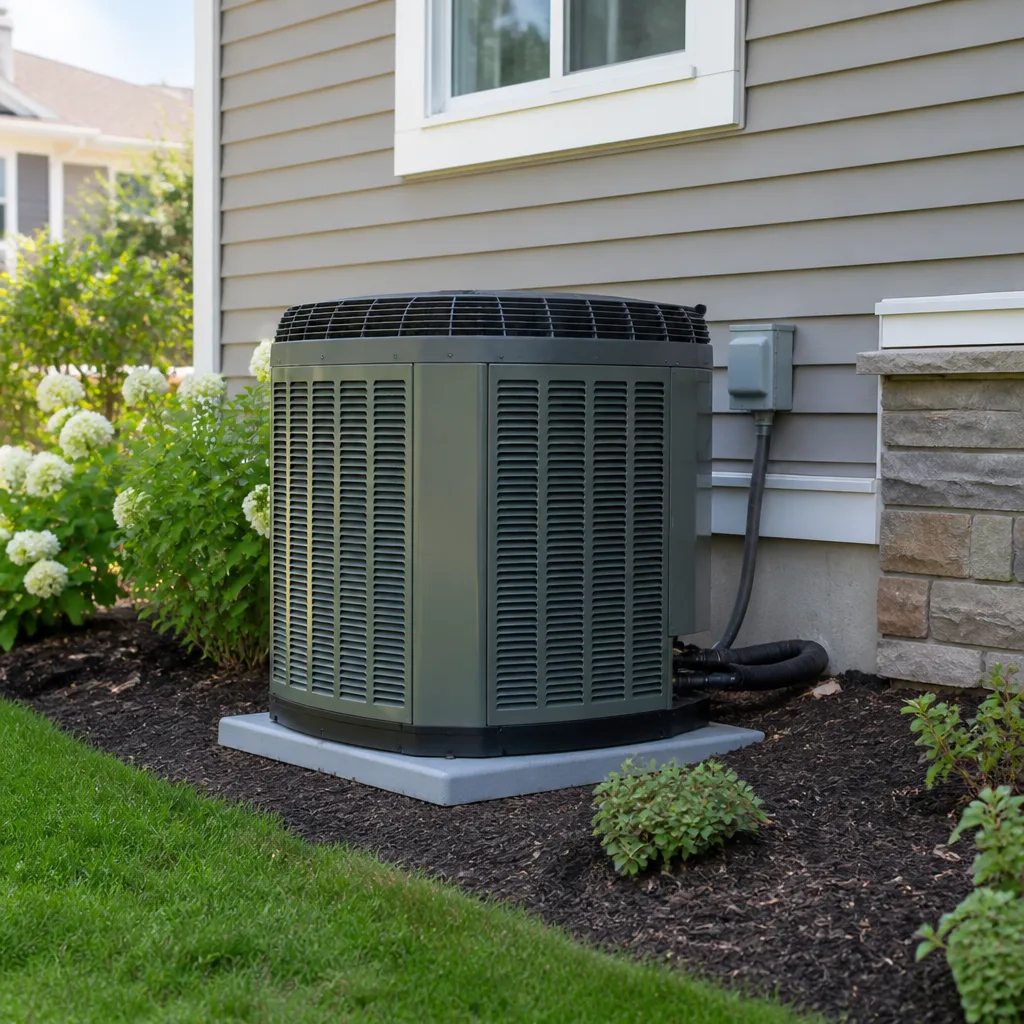 Trane
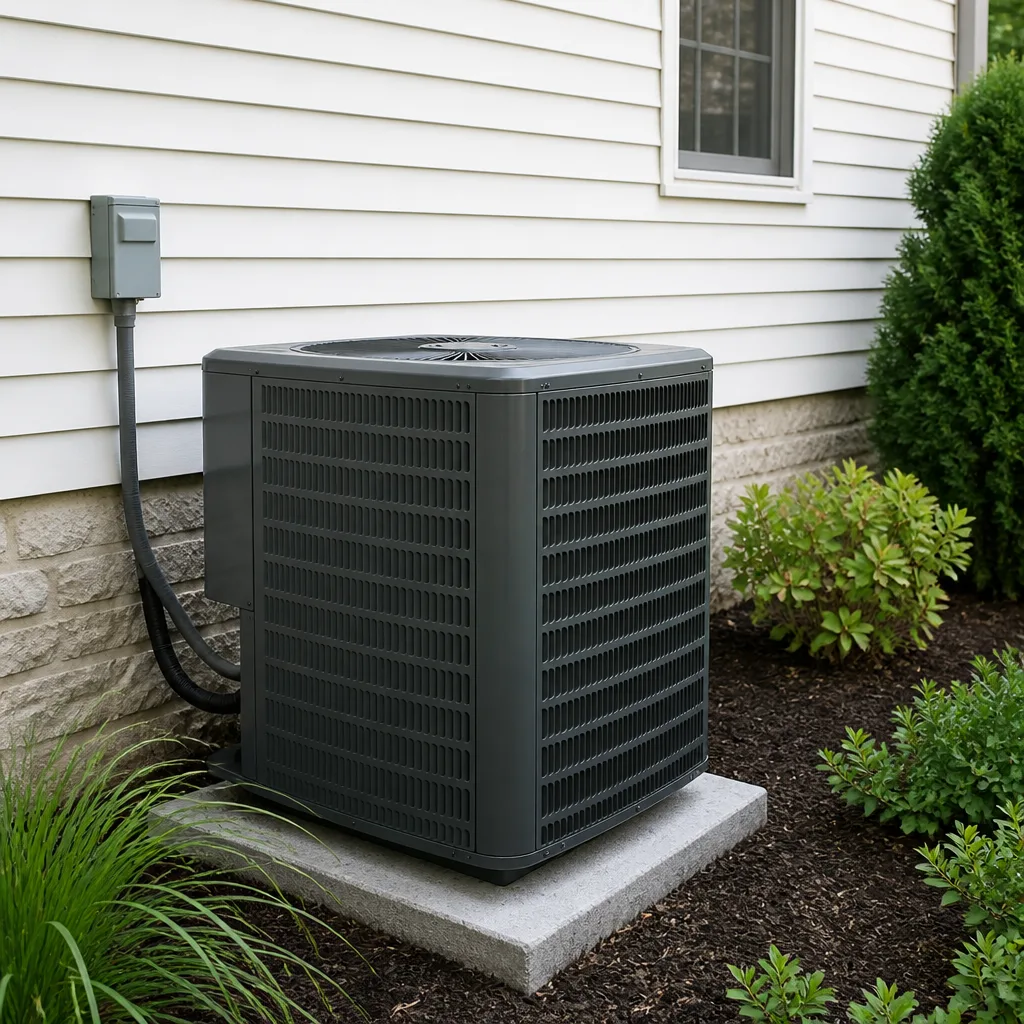 Goodman
Seasonal tune-up and full diagnostic on your Carrier, Trane, or Goodman system - readings shown to you before any repair is proposed
Diagnosis first, numbers second - you approve the repair price before a single part goes in.
Get your free estimateDIY vs Professional AC Repair: What’s Safe to Do Yourself
Replacing a capacitor, one of the most common AC failures in Henderson, costs $8 to $30 in parts and about 20 minutes of your afternoon. The same job on a service call runs $150 to $300. And it’s genuinely safe if you discharge the capacitor first. Most guides never tell you that, because “refrigerant requires a license” is the easy, tidy answer that ends the conversation.
We’ve seen too many homeowners in Henderson either pay for something they could have handled or hurt themselves attempting something they shouldn’t have touched. This guide draws the line clearly: what’s safe, what’s doable with research, what’s strictly professional, and what the real savings look like. You’ll finish knowing exactly which repairs are worth your Saturday and which ones belong to a technician.
Quick Answer
Safe DIY AC repairs include filter changes, coil rinsing, condensate drain flushing, thermostat swaps, and, with proper care, capacitor and contactor replacement. Refrigerant handling, electrical panel work, and compressor replacement require a licensed technician, both for safety and because federal law restricts refrigerant handling to certified professionals. The middle ground is where most people get into trouble, so read the tier list before you reach for a screwdriver.
Styles & brands we work with
- AC repair
- Furnace & heating
- Heat pumps
- Ductless mini splits
- Carrier
- Trane
- Goodman
Table of Contents
- The Three-Tier Task List: Safe, Careful, Licensed-Only
- The Real Cost Comparison for Five Common Henderson Repairs
- How to Safely Discharge a Capacitor (And Why Skipping It Is Dangerous)
- Which DIY Mistakes Void Your Manufacturer Warranty
- When a Botched DIY Job Makes the Professional Repair More Expensive
- Step-by-Step: Safe DIY Maintenance You Can Do This Weekend
- How to Recognize When You’re Past the DIY Threshold
- Common Mistakes to Avoid
The Three-Tier Task List: Safe, Careful, Licensed-Only
Not every AC repair fits neatly into “safe” or “call someone.” Think of it as three tiers. The tier depends on three factors: how dangerous the component is, what tools it requires, and whether the job needs a certification or permit.
Tier 1: Safe DIY (No Special Tools, No Risk)
- Air filter changes. The single most important maintenance task. A clean filter keeps airflow strong across Henderson’s long cooling season. Change it every 30 to 90 days depending on dust and pets.
- Condensate drain flush. A clogged drain line causes water damage and shuts down the system. Pouring a cup of vinegar down the access port once a month keeps it clear.
- Outdoor coil rinse. Gently hose off the condenser coils from the inside out to remove dust and cottonwood fluff. This alone can improve efficiency noticeably.
- Thermostat replacement. Swapping a basic thermostat for a smart one is a simple low-voltage wiring job with the breaker off. Match wire labels carefully and photograph the old setup before you disconnect anything.
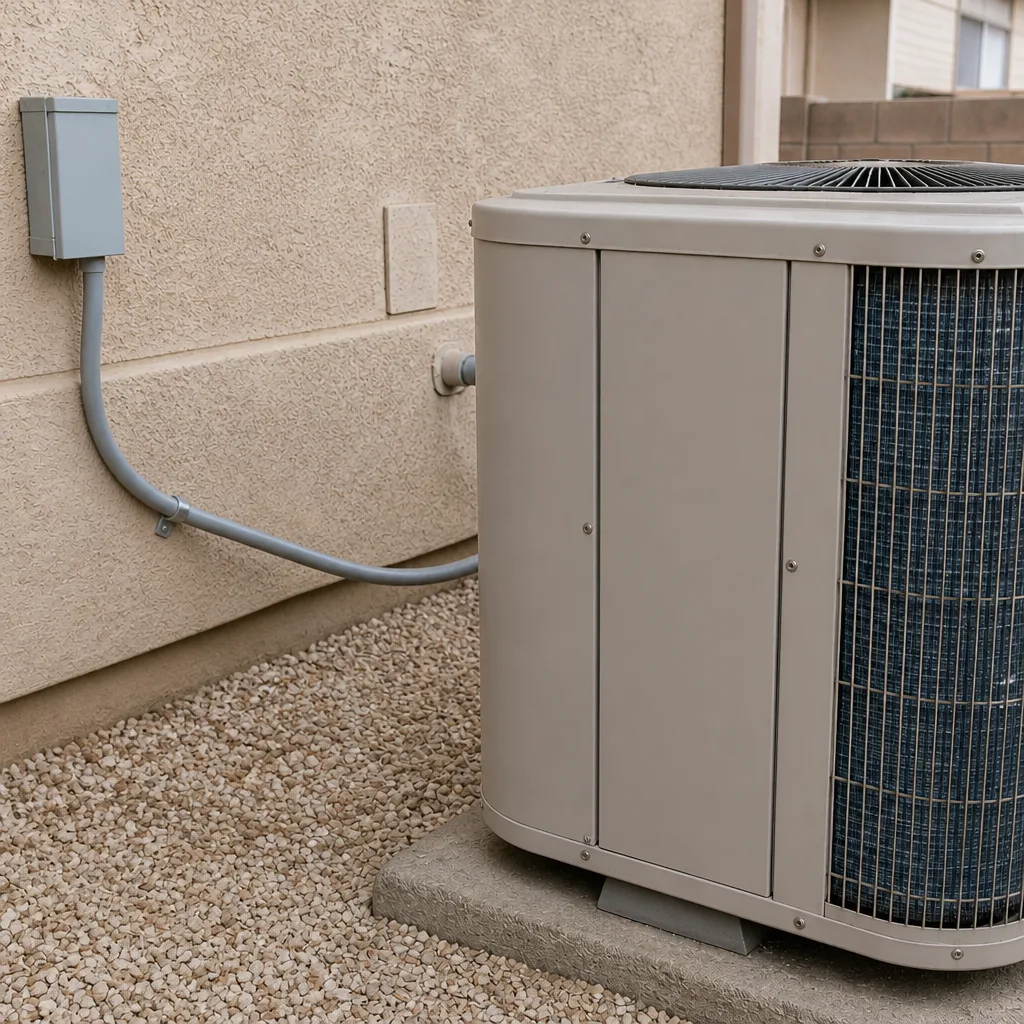
- Clearing debris around the outdoor unit. Trim back plants and clear at least two feet of space so the system can release heat.
Tier 2: Proceed Carefully with Research
- Capacitor replacement. A weak capacitor is behind a huge share of no-cool calls in Henderson. The part is cheap; the job is straightforward if you discharge the stored charge first. Skip that step and the capacitor can deliver a serious shock even with power off.
- Contactor replacement. Similar risk profile to a capacitor. Low-voltage control side, but the high-voltage line side stays live until the breaker is off. Verify dead circuits with a multimeter before touching anything.
- Blower motor cleaning. Dust buildup on the blower wheel reduces airflow. Cleaning it is possible for a careful homeowner, but the assembly is awkward and easy to damage.
Tier 3: Licensed Technician Only
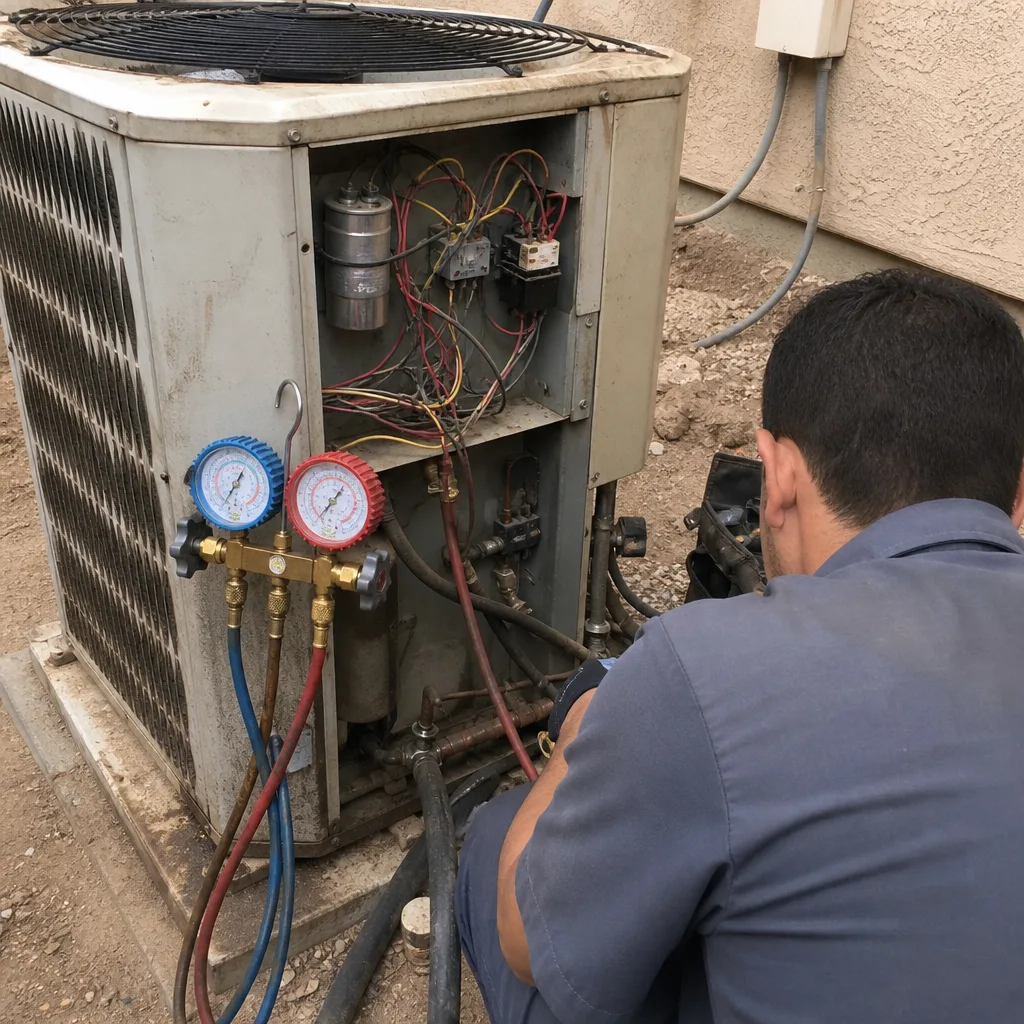
- Refrigerant handling. Diagnosing a leak, recharging, or recovering refrigerant requires EPA Section 608 certification. This is a federal rule, not a suggestion. A professional AC repair tech has the gauges, the scale, and the certification.
- Electrical panel work. Anything inside the breaker panel belongs to a licensed electrician or a qualified HVAC tech.
- Compressor replacement. This is the heart of the system, and a misdiagnosis here can cost you thousands on a system that only needed a capacitor.
- Evaporator or condenser coil replacement. The refrigerant circuit has to be opened, pumped down, and recharged, which puts it outside the DIY lane.
If you’re unsure where a task lands, that’s your signal to get a professional opinion before you start. Free estimates exist for exactly this reason.
The Real Cost Comparison for Five Common Henderson Repairs
Here’s where honest numbers matter. DIY savings can be real, but the gap widens or narrows dramatically depending on the repair. We’ve broken down the five most common issues we see in Henderson homes, with realistic parts costs and professional service-call pricing.
- Capacitor replacement. DIY parts cost: $8 to $30. Professional: $150 to $300. Savings: substantial if you’re comfortable with the discharge procedure. Risk if done wrong: shock injury, or a miswired capacitor that damages the compressor.
- Contactor replacement. DIY parts cost: $15 to $40. Professional: $180 to $350. Savings: strong. Risk if done wrong: pitted contacts return quickly, or a loose connection causes a fire hazard.
- Condensate drain cleaning. DIY cost: under $10 for vinegar. Professional: $100 to $200. Savings: high, and this one is nearly risk-free. Worth doing yourself every month.
- Thermostat replacement. DIY parts cost: $30 to $250 (depending on smart features). Professional install: $150 to $350 on top of parts. Savings: moderate to strong. Risk if done wrong: a miswired thermostat can blow a low-voltage fuse or damage the control board.
- Refrigerant recharge. DIY: not legally possible without certification. Professional: $200 to $600 depending on refrigerant type and amount. There’s no DIY savings here, and anyone selling you a can of refrigerant at a hardware store is selling you a headache.
The pattern is clear. The smaller the component and the more contained the job, the better the DIY value. The moment the refrigerant circuit or the main electrical panel is involved, the professional is not just safer, they’re the only legal option.
If you want a benchline for your specific system, AC installation in Henderson and repair estimates are always free. The written price comes before any work starts, so you can compare against the DIY math without any pressure.
How to Safely Discharge a Capacitor (And Why Skipping It Is Dangerous)
We’re going to explain this carefully because it’s the single most common DIY-related injury in AC work. We won’t give you a full step-by-step, because the procedure requires you to verify a dead circuit with a meter and know exactly where the terminals are. But you should understand what’s happening and why a pro never skips a step.
A capacitor stores electrical energy even after the power is off. It’s designed to give the compressor and fan motor a jolt of starting torque. That stored charge can be hundreds of volts, and it can sit there for minutes or longer. Touching the terminals without discharging it first is how people end up in the emergency room with a hand they can’t feel.
- The disconnect is not enough. Turning off the thermostat or the breaker inside the house doesn’t kill power at the outdoor unit. There’s usually a separate disconnect box near the condenser.
- Verify dead, not just switched. A technician uses a multimeter to confirm zero voltage at the terminals before touching anything.
- Discharge with an insulated resistor. The safe method uses an appropriately rated resistor across the terminals, not a screwdriver. The screwdriver trick you see on forums can weld itself to the terminal or explode the capacitor housing.
- Treat every capacitor as live. Even after discharge, the best practice is to handle it by the insulated body only, never the terminals.
If that list made you hesitate, good. That’s the correct response. And if you’re going to attempt it anyway, use an insulated screwdriver, a properly rated resistor, and a meter you’ve tested on a known live circuit first. Or call a pro and watch the price come in under the cost of one urgent care visit.
Which DIY Mistakes Void Your Manufacturer Warranty
Here’s the part almost no one mentions: your equipment manufacturer cares deeply about who touched what. A DIY repair that goes wrong can void the warranty on your system, which changes the entire savings equation. A $250 capacitor job that saves $200 and voids a warranty on a unit that still has five years of coverage is a bad trade.
Most manufacturer warranties, including those on Lennox, Goodman, Rheem, and York equipment, have terms about improper installation, unauthorized modifications, and work performed by unqualified persons. The key phrase is “improper.” A routine filter change doesn’t void anything. Cutting into the refrigerant circuit or rewiring the control board without authorization can. Here’s what’s generally safe and what isn’t:
- Won’t void the warranty: filter changes, coil cleaning, condensate drain flushing, thermostat replacement (if the thermostat manufacturer’s instructions are followed), and clearing debris.
- Might void the warranty if done wrong: capacitor and contactor replacement. The part itself is often covered; the damage from a miswired install usually isn’t.
- Very likely to void the warranty: anything that opens the refrigerant circuit, replacement of major components without authorization, or bypassing safety switches.
If your system is still under a manufacturer warranty, the smart move is to get a professional to do any repair beyond Tier 1, and to keep every receipt. That way, if a related failure hits later, you have documentation showing proper service, which makes a warranty claim far easier to win.
The 365-Day Done Right Promise exists for this exact reason. Every repair we make comes with a written guarantee valid for a full year. If it fails inside that 365 days, we come back and correct the work at no charge. Your manufacturer warranty stays intact, and you’re not paying twice for the same fix.
When a Botched DIY Job Makes the Professional Repair More Expensive
A failed DIY attempt doesn’t just cost you the parts you bought. It can actively raise the professional repair bill, and most homeowners don’t realize they’ve crossed that line until we’re standing in front of the system. Here are the situations where we see it happen.
- Forced compressor damage. A homeowner replaces a weak capacitor without checking the compressor start winding, and the compressor draws locked-rotor amps until it burns out. A $20 part becomes a $1,500-plus repair.
- Control board damage from thermostat miswiring. One crossed wire can send 24 volts where it doesn’t belong and fry a board. The board swap costs far more than the thermostat install would have.
- Cross-threaded Schrader valves. Even touching the refrigerant service ports without proper tools can let refrigerant escape. Now you’re paying for a leak repair plus a recharge.
- Improperly seated contactor. A loose high-voltage connection can arc, pit the terminals, and melt wiring insulation. The tech now has to replace wiring, not just the contactor.
- Warranty claim denial. If a manufacturer can attribute a later failure to an unqualified repair, that claim can be denied entirely, so a second repair is fully out of pocket.
The fix for this is simple: stop before you start a Tier 2 job unless you’ve verified the circuit is dead, the part matches spec, and you’re comfortable with the procedure. If any of those three boxes is unchecked, call a pro. It’s cheaper in the long run.
Most of our Henderson customers don’t realize how quickly a “simple” repair can escalate. That’s why the written price you get before work begins is worth the call: you see the scope before anyone touches your equipment. Call us for a no-obligation estimate at (844) 797-5122.
Step-by-Step: Safe DIY Maintenance You Can Do This Weekend
This is the work that genuinely belongs to you, and it’s the work that prevents the expensive calls in the first place. Henderson’s dry, dusty summers and occasional monsoon-season grit put a lot of strain on the system, and a little routine attention goes a long way.
- Kill the power at the thermostat and air handler breaker. For maintenance-only tasks, the breaker at the panel is sufficient, but only because you’re not opening any electrical components. Confirm the thermostat goes dark before you move on.
- Change the air filter. Pull the old filter, note the size and airflow arrow, and slide the new one in facing the right direction. A dirty filter is behind more no-cool calls than any other single cause in Henderson.
- Hose down the outdoor coil. Gently, from the inside out, so you’re pushing dirt out rather than in. Don’t use a pressure washer, which bends the coil fins and kills efficiency.
- Flush the condensate drain. Find the access cap on the drain line and pour a cup of white vinegar in. This prevents the algae clogs that cause water backups, particularly when humidity spikes.
- Clear the space around the condenser. Two feet minimum, all sides. If the outdoor unit is boxed in by shrubs or a fence, hot air recirculates and the system works harder than it needs to.
- Check for ice on the indoor coil. Ice means low airflow or low refrigerant. If you see ice, turn the system off and call a pro, because it’s not a DIY fix.
- Book a professional tune-up once a year. A certified tech checks refrigerant pressures, electrical connections, and the components you can’t safely reach. A heating system check in fall pairs well with a spring AC tune-up.
That list covers roughly 70 percent of what a preventative maintenance visit does, and it costs you an afternoon twice a year. The remaining 30 percent is the part where you need gauges, a meter, and the training to interpret what they say.
How to Recognize When You’re Past the DIY Threshold
The threshold isn’t a fixed line. It depends on your comfort level, your tools, and what the system is telling you. Here are the clear signals that it’s time to stop.
- You don’t own a multimeter, or you don’t know how to verify a dead circuit. This is non-negotiable for any electrical component. Guessing is how people get hurt.
- The part number doesn’t match. Capacitors come in microfarad ratings and voltage tolerances. A mismatched part can damage the compressor or fail immediately.
- You have to touch the refrigerant circuit. A leaking Schrader valve or a suspected leak means a professional. Full stop.
- Ice is forming on the indoor coil or the suction line. This points to a refrigerant or airflow problem that needs gauges to diagnose.
- The system trips the breaker. This can indicate a shorted compressor, a bad motor, or a wiring fault. All of those are diagnostic calls.
- You don’t have a written procedure. If you can’t find the manufacturer’s service manual for your specific model, you don’t have enough information to attempt the repair.
- You’ve already attempted one repair and the problem remains. Now you’ve got a diagnostic puzzle on top of a repair, and that’s when the cost multiplies.
The good news is that this threshold is easier to find than people think. You can get a free estimate that tells you what the repair should cost before you decide. That’s the real value of the up-front price: it lets you make a clear-eyed choice between doing it yourself and handing it to a technician.
Common Mistakes to Avoid
- Skipping the capacitor discharge. This is the top cause of DIY-related injury in HVAC work. The capacitor holds a charge after power is cut, and that charge can be lethal.
- Replacing the capacitor without matching the microfarad rating. A part that’s close but not exact can cause the compressor to overheat. Match the label exactly, every time.
- Touching the refrigerant service ports. Even opening a valve without gauges can let refrigerant escape. Refrigerant is regulated, and a leak is expensive to fix.
- Using a shop vac on the outdoor coil. It bends the fins, which restricts airflow and reduces efficiency. Use a hose and a soft brush only.
- Ignoring a tripped breaker. Resetting it without diagnosing the cause is a fire risk. A tripping breaker means the system is telling you something is wrong.
- Forgetting to check the thermostat wiring before swapping it. A single mislabeled wire can damage the control board. Take a photo first, then disconnect.
- Trying to top off refrigerant yourself. It’s illegal without EPA certification, and it’s dangerous. Leave refrigerant entirely to a certified technician.
See the difference
 Before
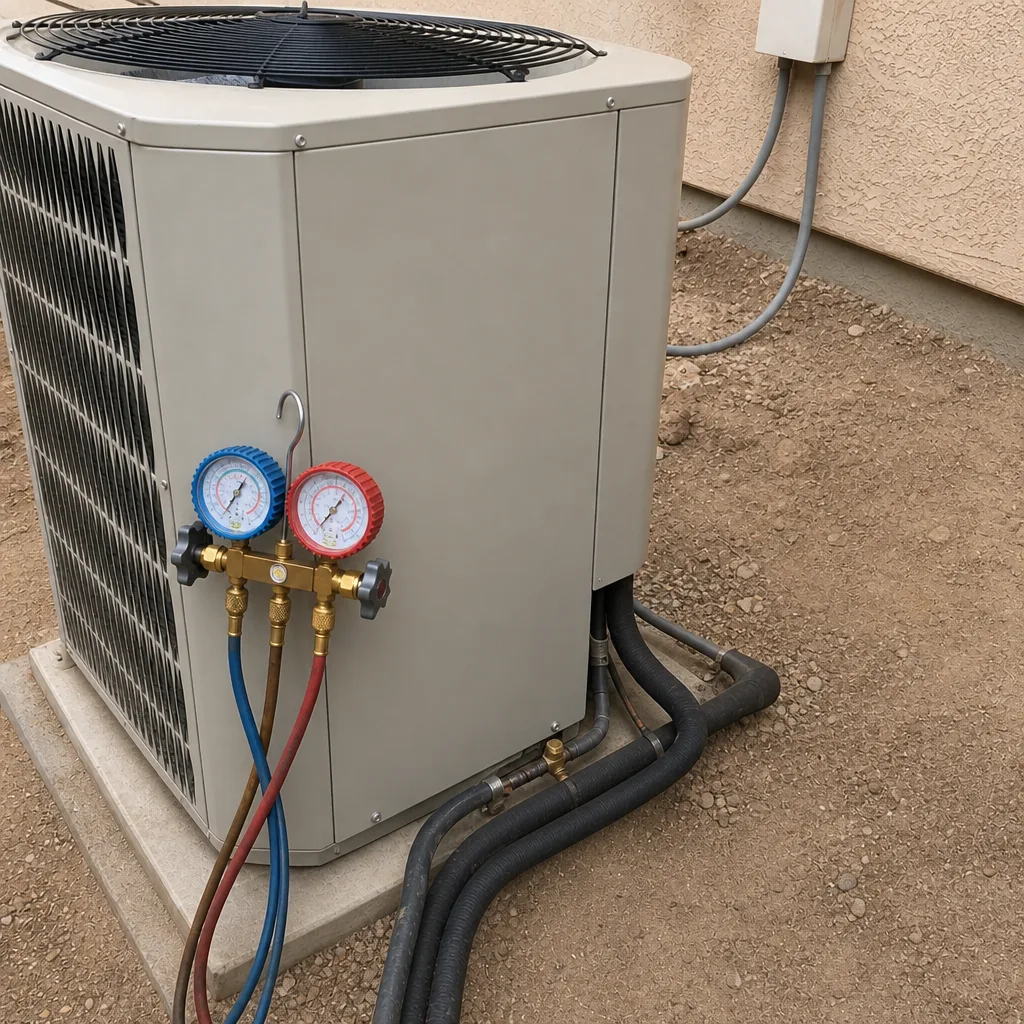 After
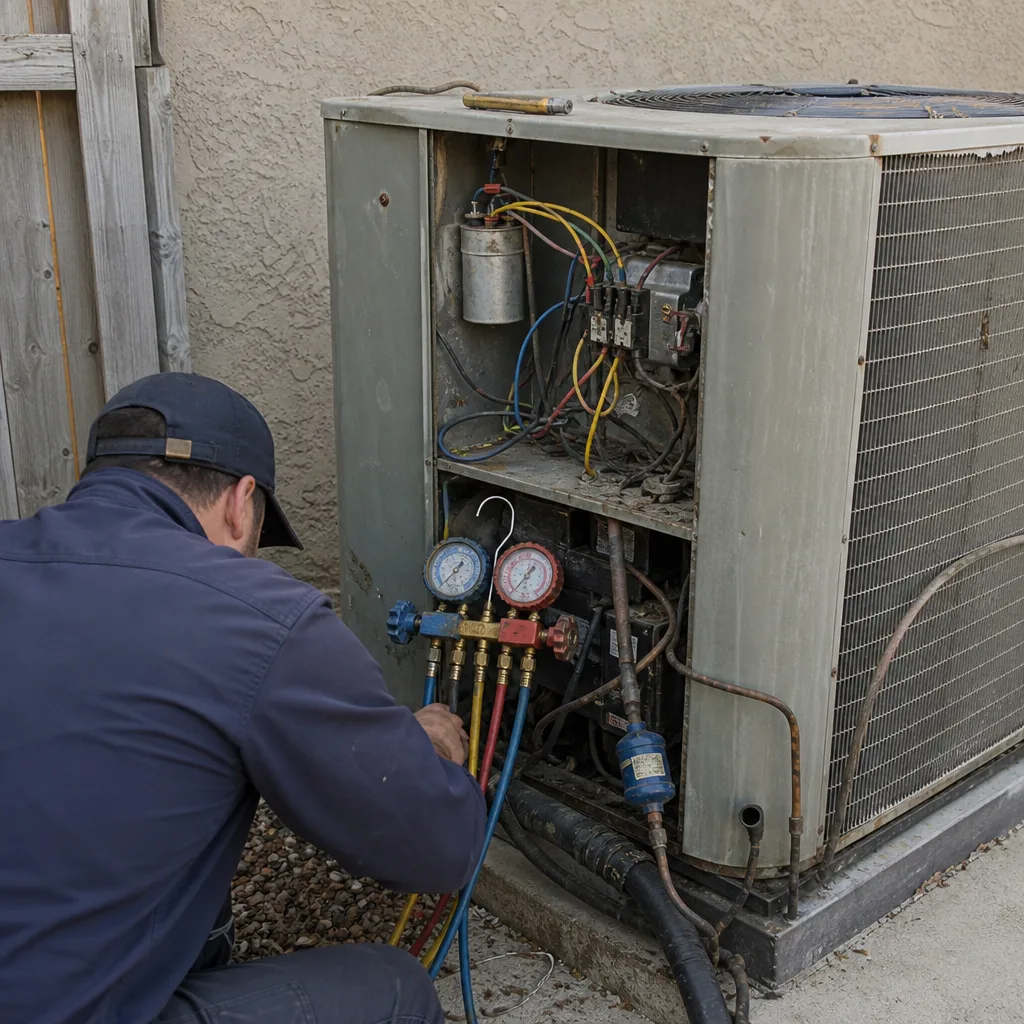 Before
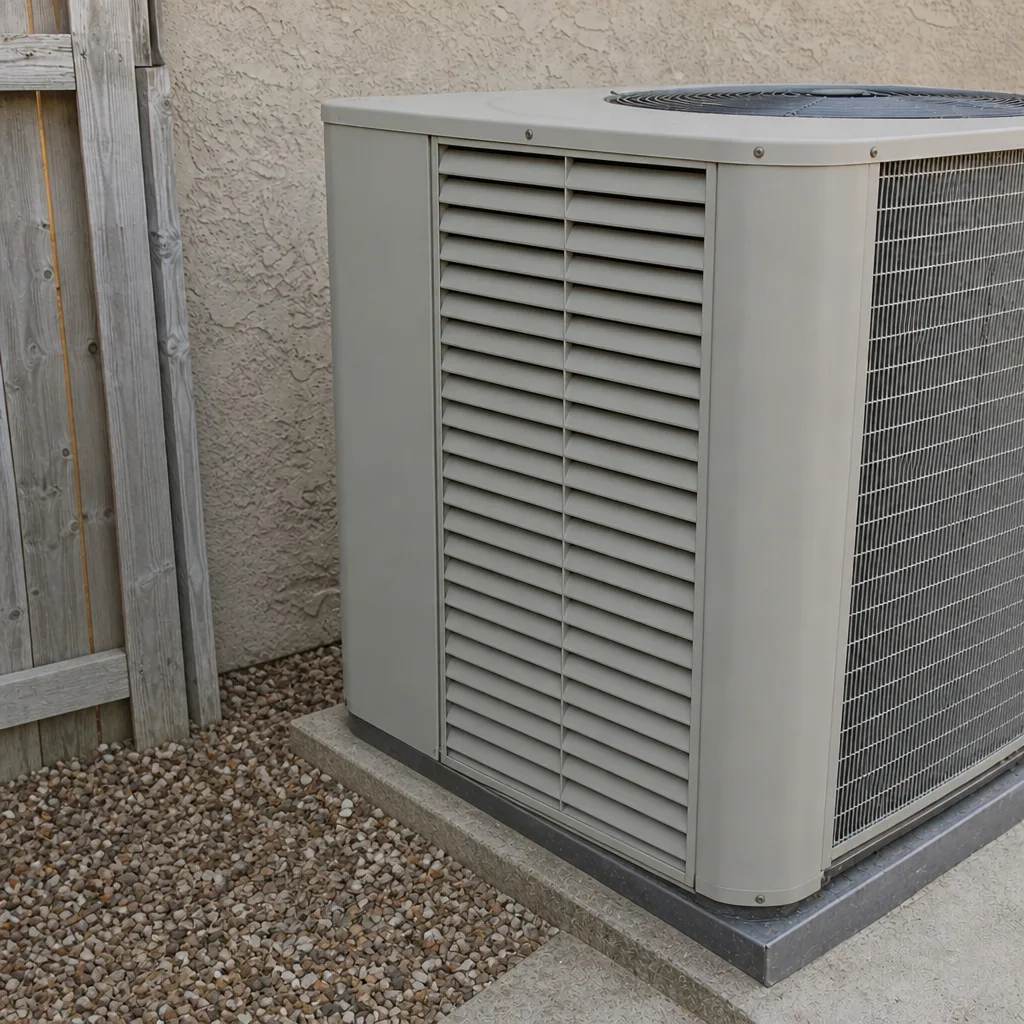 After
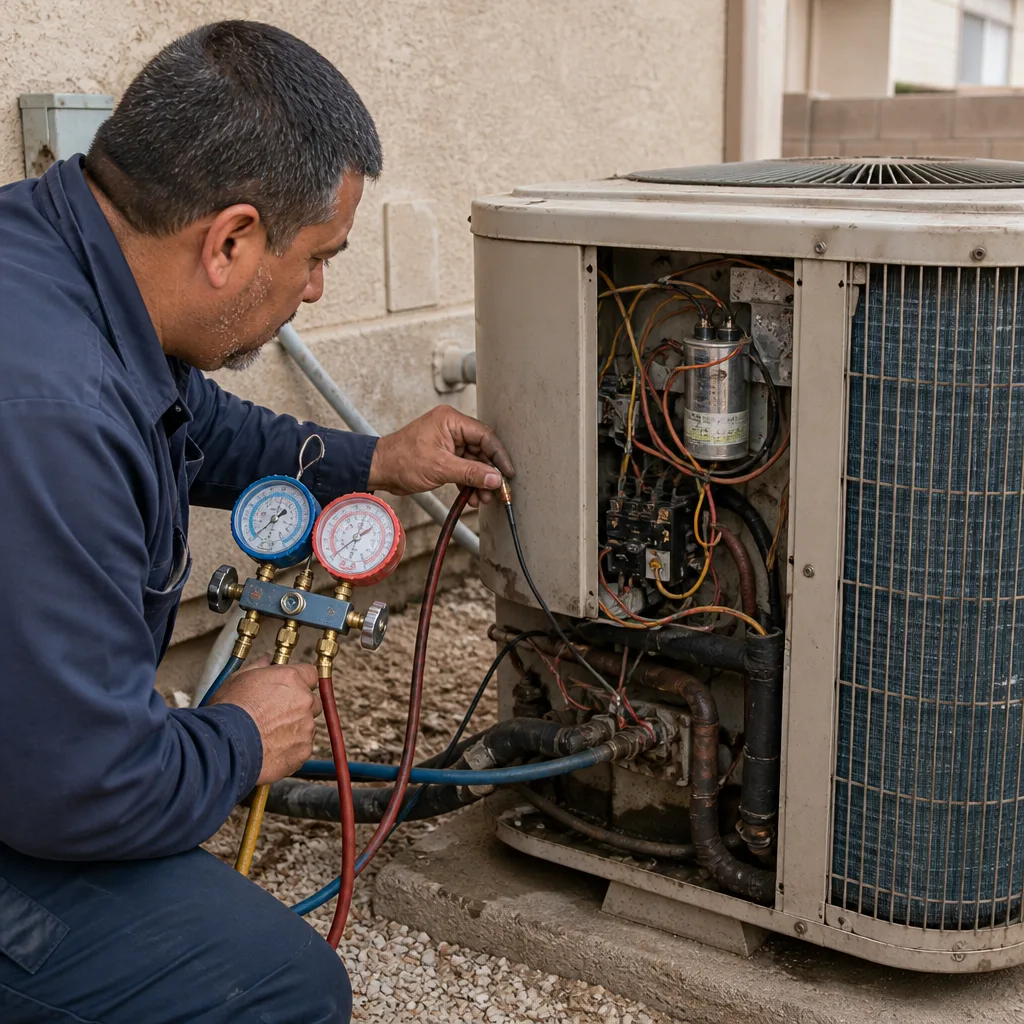 Before
 After
When to Call a Professional
Some jobs need a trained technician, period. Call a professional if the system isn’t cooling after a filter change and coil rinse, if you see ice anywhere on the indoor unit, if the breaker trips repeatedly, if you smell burning or refrigerant, or if you’re not completely confident about discharging a capacitor. A trained technician can diagnose the underlying issue in a single visit, and the cost of that visit is cheaper than a misdiagnosed repair or a trip to urgent care.
Coldharbour Heating & Air Henderson offers free estimates in Henderson and answers the phone with a live person, 24 hours a day, 7 days a week. If you’re on the fence about a repair, call us and we’ll walk you through the options before you make a decision. Every job comes with a written price before work begins and the 365-Day Done Right Promise in writing. Our technicians have up to 23 years of experience and are trained to service nine major residential HVAC brands, including Lennox, Goodman, Rheem, and York. You can reach us at (844) 797-5122.
Frequently Asked Questions
It’s safe if you discharge the capacitor first and verify the circuit is dead with a multimeter. The capacitor stores a charge even after power is off, so skipping the discharge step is the biggest risk. If you don’t own a meter or aren’t confident in the procedure, leave it to a technician. Call (844) 797-5122 for an exact quote, and estimates are free.
Capacitor replacement is the most common repair we see in Henderson, and it runs $150 to $300 professionally. Contactor replacement falls in a similar range, $180 to $350. A refrigerant recharge runs $200 to $600 depending on refrigerant type. The written price is given before any work starts, so there are no surprises at the door.
No. Refrigerant handling requires EPA Section 608 certification, and it’s a federal requirement, not a company policy. Attempting a recharge without the proper training, gauges, and certification is both illegal and dangerous. A professional can diagnose a leak, recharge the system correctly, and confirm the charge with a scale.
It depends on the repair. Filter changes and coil cleaning won’t void anything. Capacitor and contactor replacements are usually fine if done correctly, but a miswired install can void coverage on a related failure. Anything that touches the refrigerant circuit, or unauthorized replacement of major components, is very likely to void the warranty.
Yes, and it happens more often than people think. A miswired thermostat can fry a control board. A misdiagnosed compressor can turn a $20 capacitor into a $1,500-plus repair. If you’ve attempted a repair and the problem remains, stop and call a pro. The cost goes up the longer you wait.
Stop when you can’t verify a dead circuit with a meter, when the part number doesn’t match exactly, when you see ice or smell refrigerant, or when the breaker trips repeatedly. Those are all signs the repair is beyond the DIY tier. Call (844) 797-5122 for a free estimate and we’ll tell you honestly whether it’s a job you could have handled.
The Bottom Line
Most AC repairs fall into three clear buckets: safe DIY (filters, drain flush, coil rinse, thermostat), careful with research (capacitor, contactor), and licensed-only (refrigerant, electrical panel, compressor). The savings on the safe tier are real, and worth the effort. The busy-work mistake is trying to stretch to the second tier without the tools, the meter, or the discharge technique to do it safely. If you’re in Henderson and you’re not certain, a free estimate costs nothing and can save you thousands. Call Coldharbour Heating & Air Henderson at (844) 797-5122, get a written price before anyone starts, and rest easy knowing your repair is covered for 365 days.
You can also start with our home page to see how we work, or go straight to professional AC repair in Henderson if you’d rather have it done than do it yourself.
Written by the team at Coldharbour Heating & Air Henderson.